|
Porterfield
Brake Pad Replacement
|
|
2004
Chrysler Crossfire
|
|
|
|
|
|
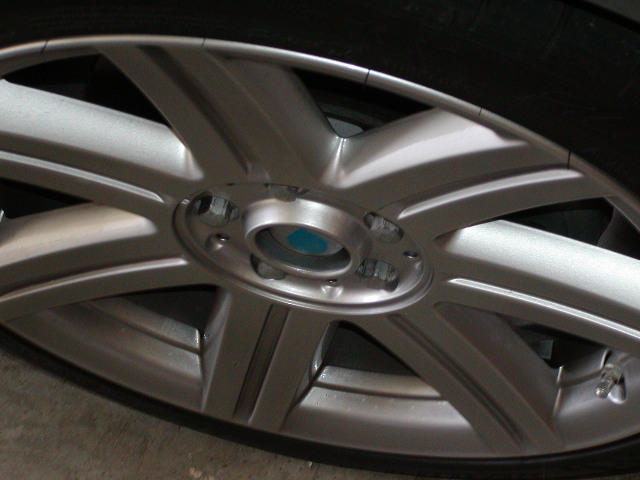
- Remove wheel
cap and loosten all 5 lug bolts one half turn. Jack car up high
enough so wheel is off the ground. Remove bolts and wheel from
car. Do one side at a time.
|
|
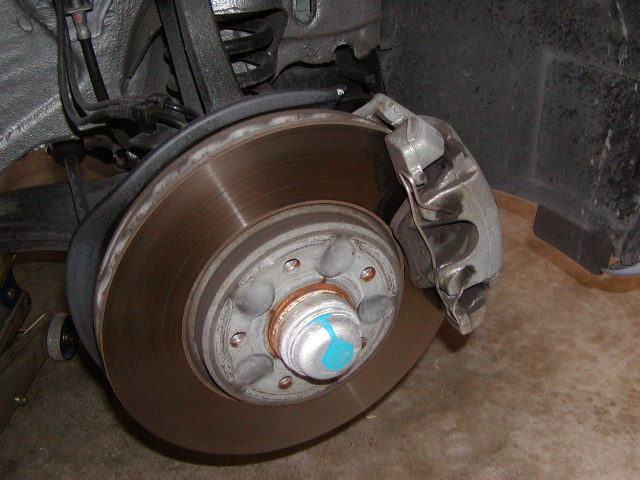
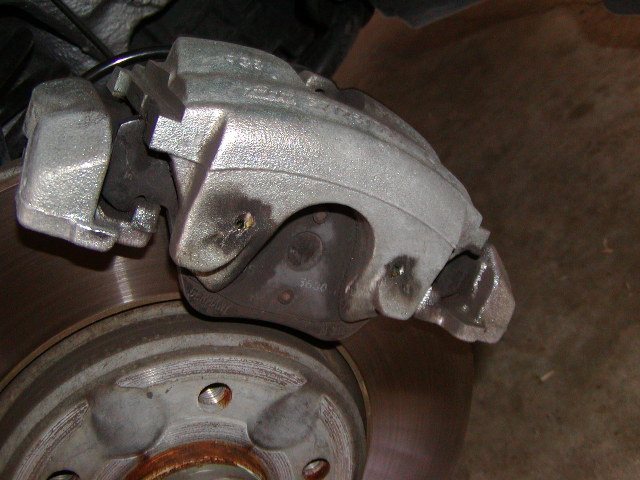
- Here is what
it will look like once it is removed
|
|
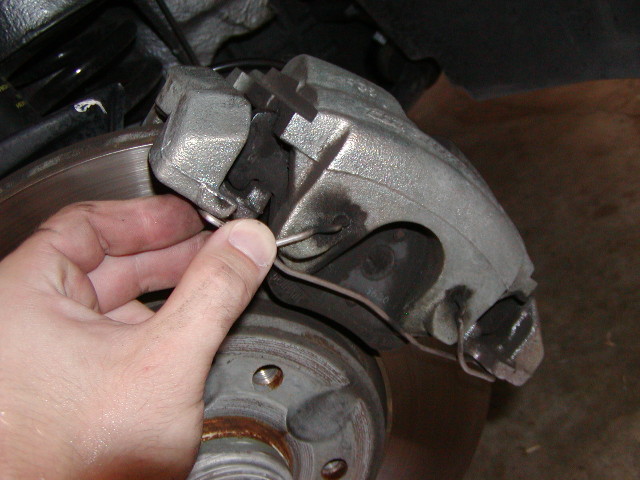
- You need
to remove the caliper clips. You can do this by hand. Just pull
on one side of the clip. It will come off with some force. Use
a screwdriver if necessary.
|
|
- Here is a
shot with one side pulled off. The other will follow.
|
|
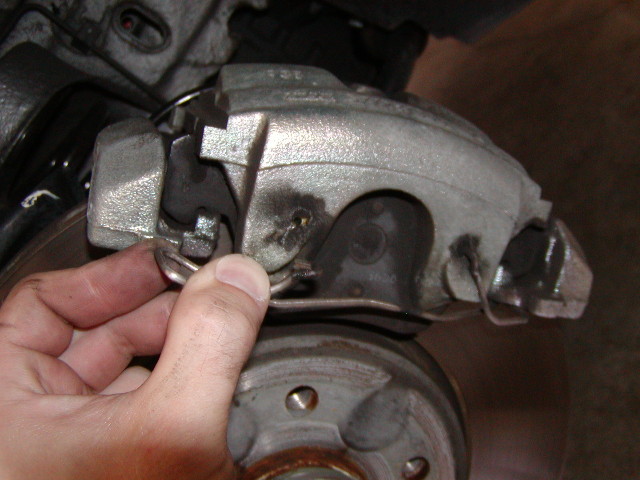
- Here is a
shot with the clip removed.
|
|
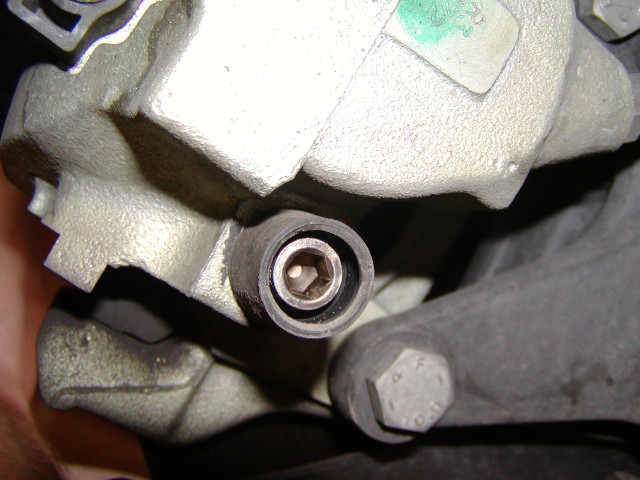
- Remove the
cap from the back of the caliper slider bolt. There are 2.
|
|
- Here is a
shot of the bolt. It uses a hex head driver. Not a socket!
|
|
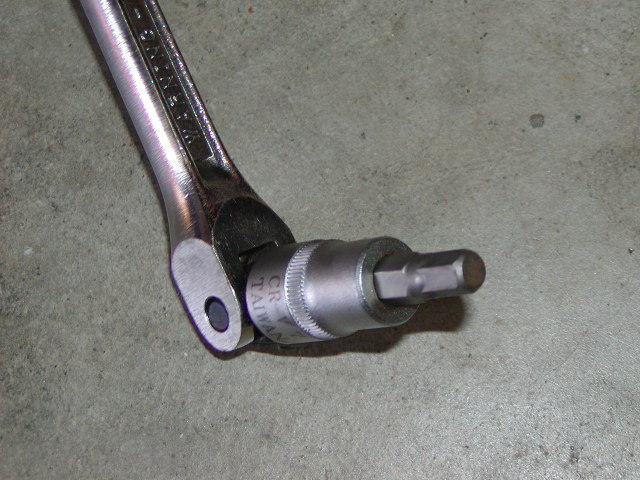
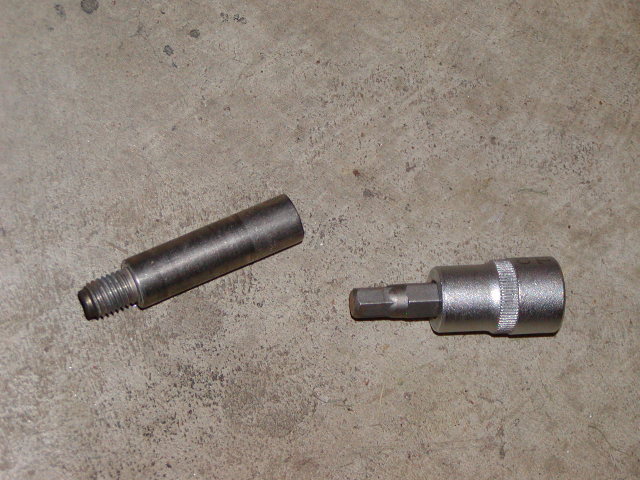
- Here is a
shot of a hex driver I used.
|
|
- Here is a
shot of the caliper slider bolt removed. There are 2.
|
|
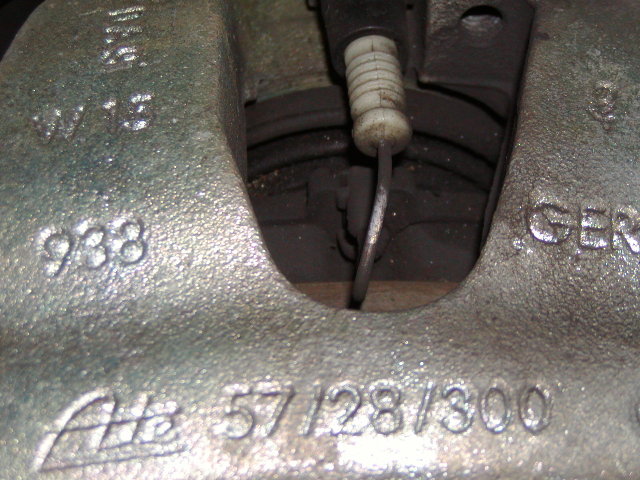
- This is the
brake pad sensor. Pull up on it to remove it from the pad.
|
|
|
|
|
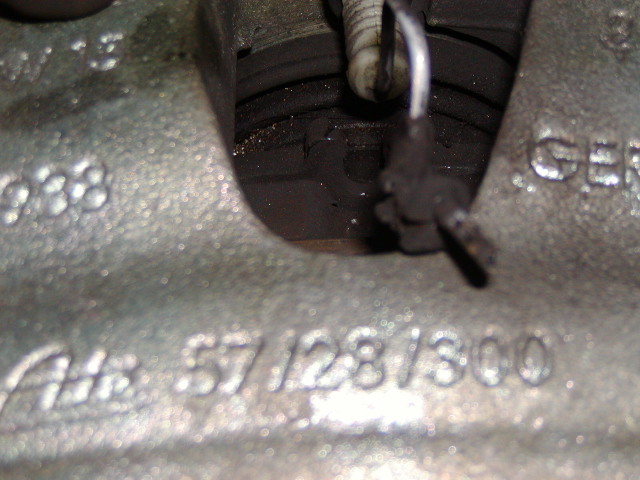
- Here is a shot
of the sensor removed from the pad.
|
|
|
|
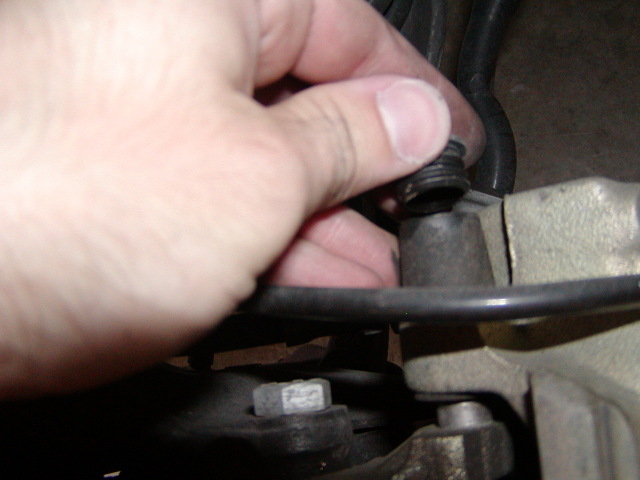
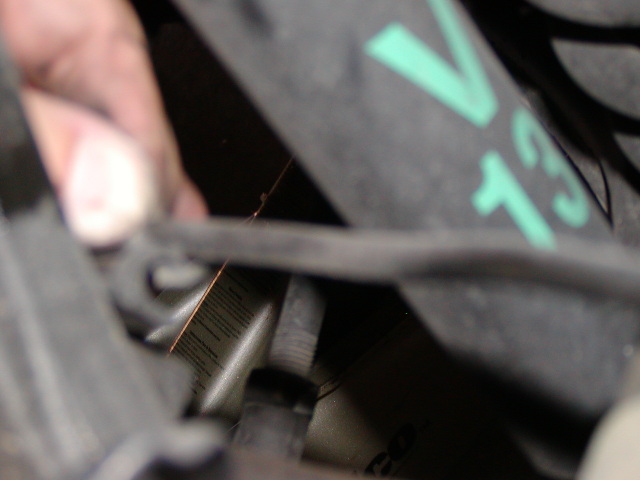
- Unclip the brake
pad sensor wire from the upper control arm. This will give you the ability
to pull the caliper further away from the caliper bracket.
|
|
|
|
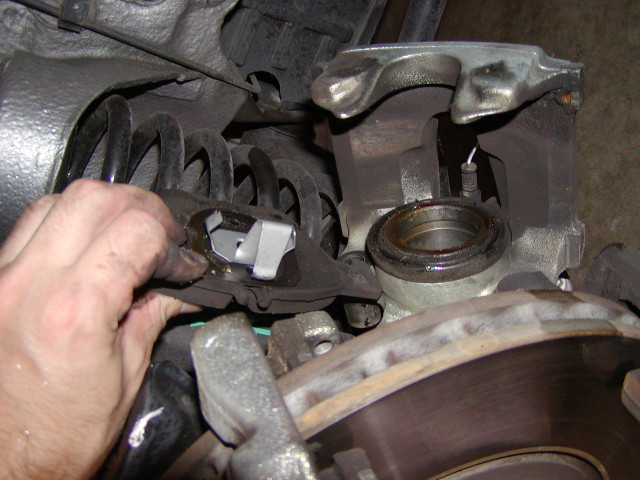
- Lift the base of
the caliper away from the rotor. Remove the front brake pad.
|
|
|
|
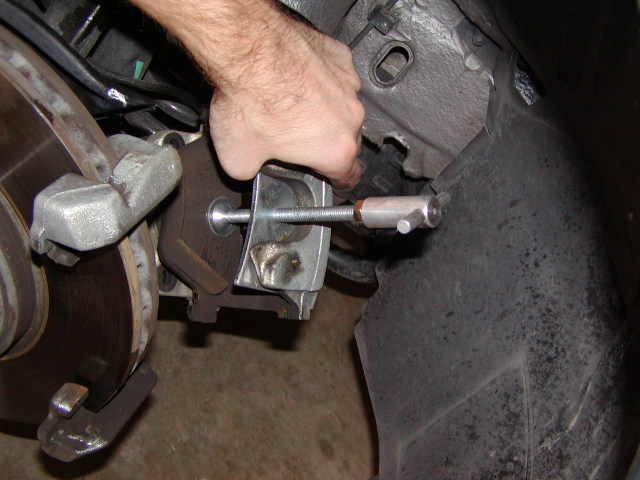
- Use a caliper piston
compression tool to push the piston back into normal position. This
tool can be found in most part stores. You need to have the rear pad
still in place to push the piston back into its original position.
|
|
|
|
- Once the piston
has been pushed into position, you can remove the pad. Do one side at
a time.
|
|
|
|
- Install the new
pads in reverse order.
|
|
|
|
|
|
|
|
- When re-installing
the caliper pins, torque them down to 18ft lbs
|
|
|
|
|
|
- Reinstall the wheel
and torque down to 81ft lbs in a star pattern
|
|
|
|
|
|
- Now that you have
one side done, enter the car and pump the brake pedal until it is firm.
This will keep brake fluid from spilling out.
|
|
|
|
 |
|
|
|
faq
created by : dfwsbr |
|
|
|
|
|
|