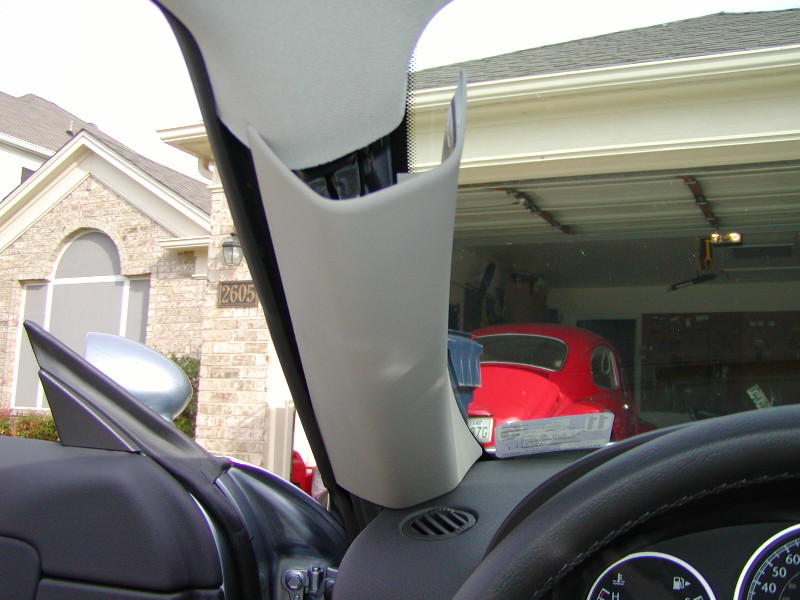
- First you
must expose a pack of wires ran up the A-Pillar. This is to find
a switched 12v source for your detector. From the top you can
pry the protective cover down and out.
|
|
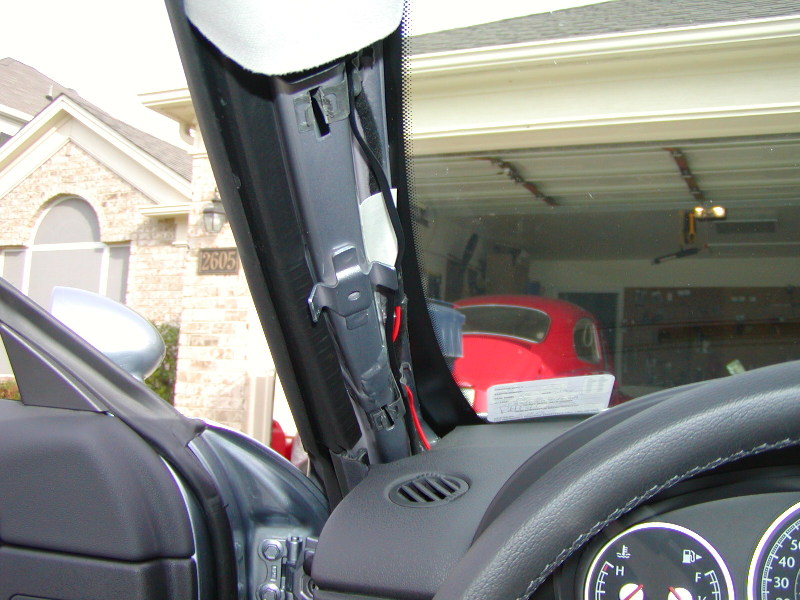
- Here is what
it will look like once it is removed
|
|
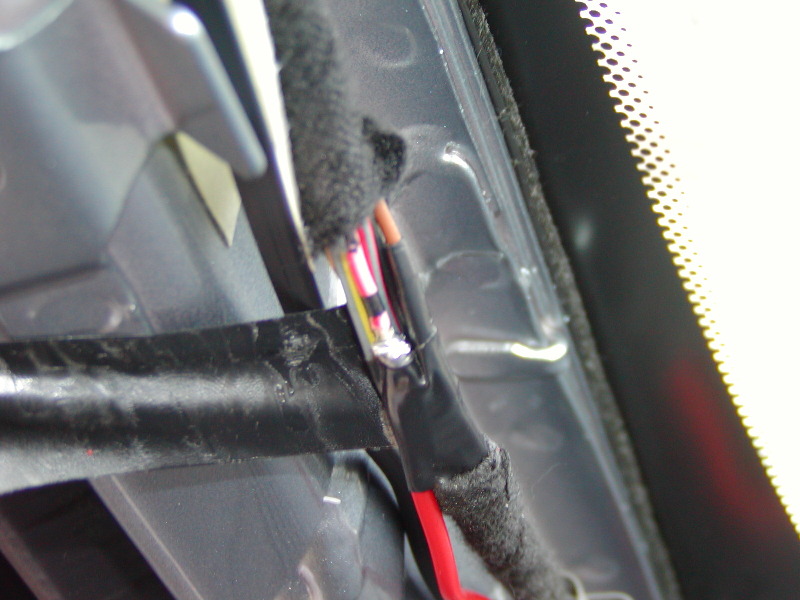
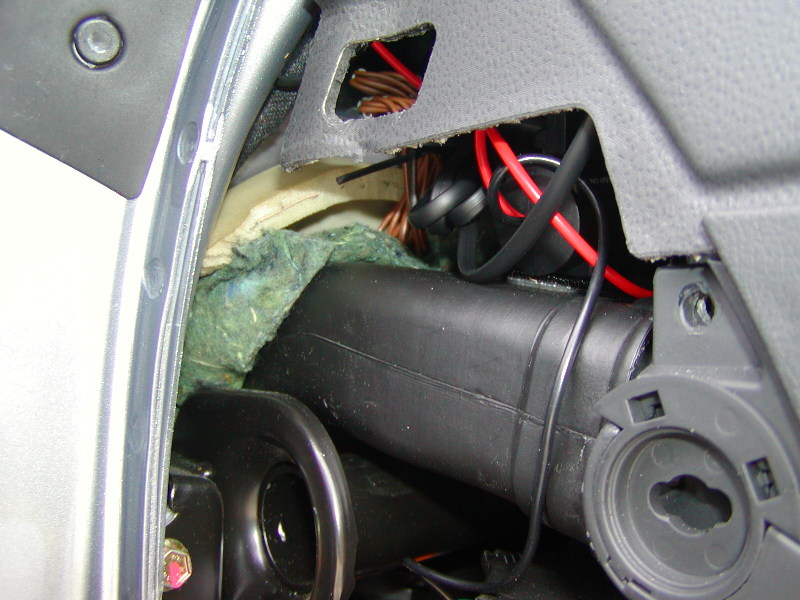
- You need
to strip back the felt insulation around the wires. The wire up
front, with the soldered joint I found was 12v when the car was
running. Use a volt meter to test the wire before assuming it
is the correct one.
|
|
- Once you
have the above wire soldered and taped off, you can run it down
to the fuse box location. This is where I placed the power box
for the V1.
|
|
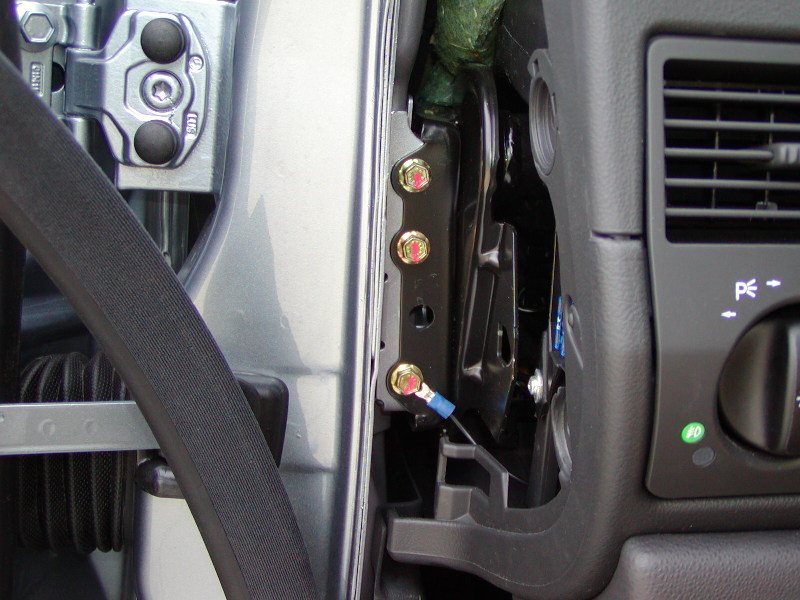
- This is a
close up shot of where the power box is located. There are 3 main
wires going to it. Power, Ground, and the RJ11 cord which goes
to the V1. This is run back up the A-pillar to just behind the
Mirror, under the head liner.
|
|
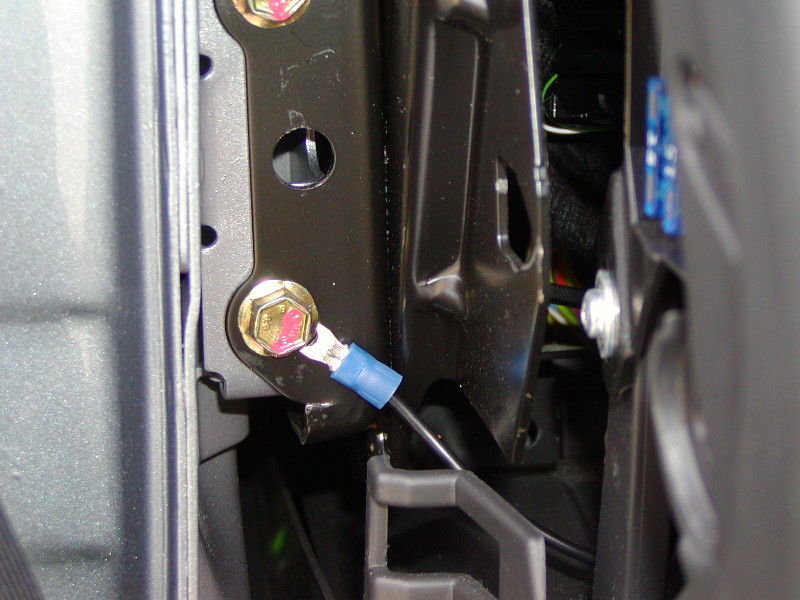
- This is where
I pulled a ground source. Back out the facory screw and connect
your ground wire to it. This is also located by the fuse panel.
|
|
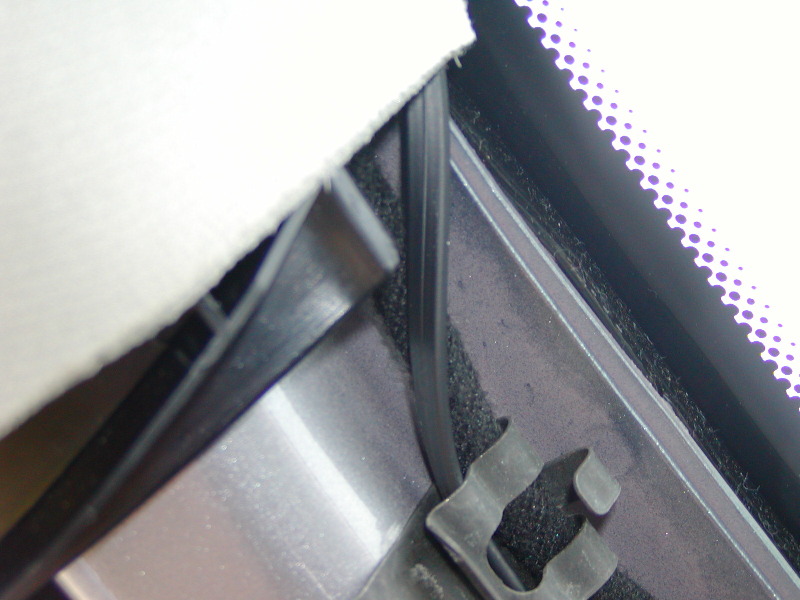
- Shot of the
RJ11 cord ran under the head liner at the top of the A-Pillar
|
|
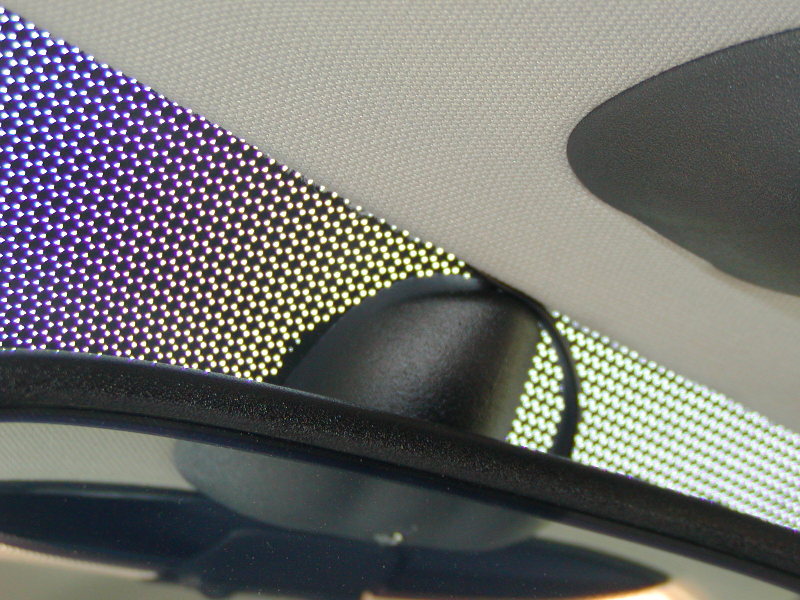
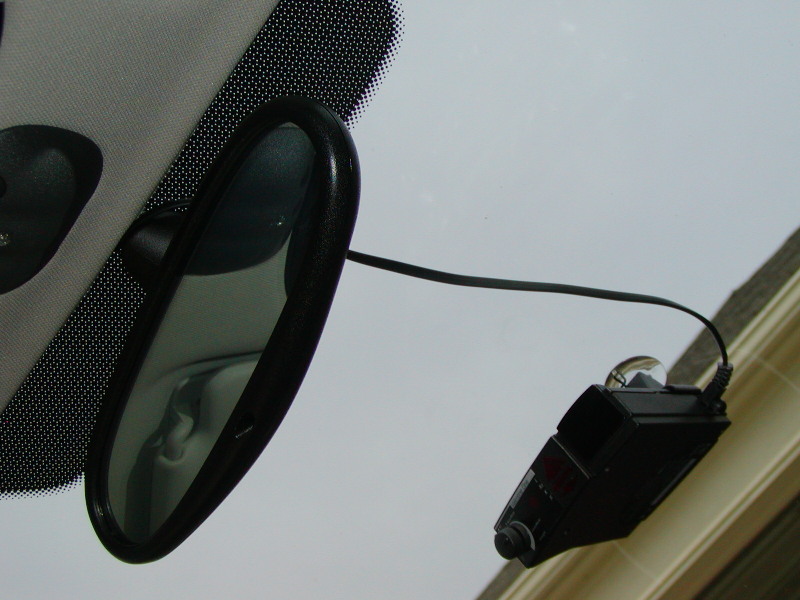
- Shot of the
RJ11 cord coming out just past the stalk of the mirror and down
to the detector.
|
|
- Make sure
you have enough slack to plug in the RJ11 coard to the detector.
Too much will obstruct your vision. Make sure it is just right.
|
|
- Before putting
back all the trim pieces, test out your new installation. When
the car is started, the radar detector should power right up.
If you are having issues, make sure the detector is on.
|